Some of the links in this article may be affiliate links. If you make a purchase through these links, we may earn a small commission at no extra cost to you. Thank you.
I’ve been designing multi-stage geocaches for over five years now, and I’ve learned that the magic happens in the details. When you combine simple tools like magnifying glasses or UV lights with clever hiding spots, you create those “aha!” moments cachers live for. There’s something incredible about watching someone’s face light up when they open a mechanism you’ve built or decode coordinates hidden in plain sight. Want to know how to craft these experiences yourself?
Thank you for reading this post, don't forget to subscribe!
Essential Gadgets for Multi-Stage Cache Design
The world of multi-stage geocache design isn’t just about clever hiding spots—it’s about the gadgets that make your cache truly memorable.
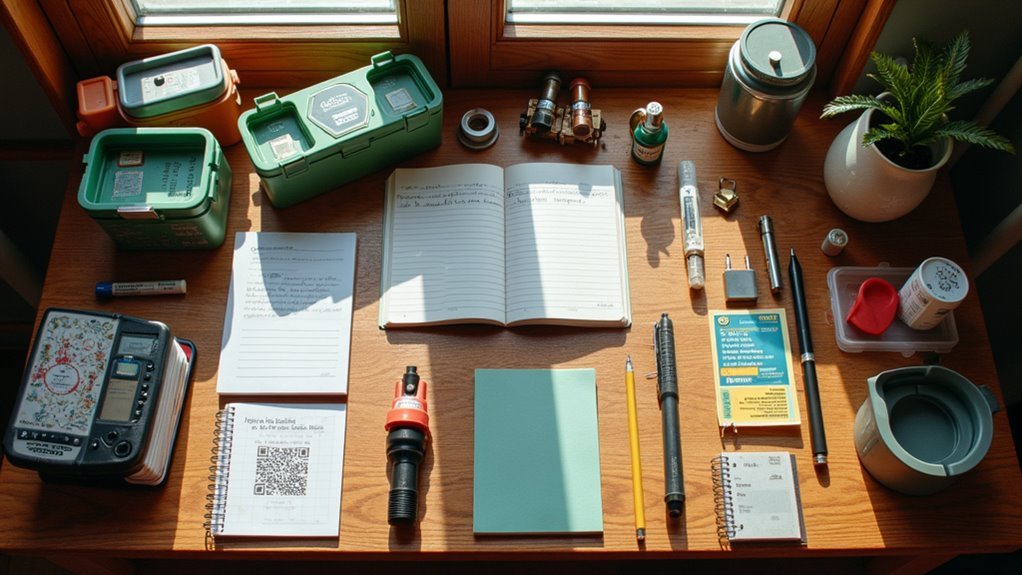
In my experience as a puzzle writer for Geocaching enthusiasts, I’ve found five tools that are absolute game-changers for your cache inventory.
The right puzzle tools don’t just enhance your multi-cache—they elevate the entire experience for every geocacher who discovers your creation.
First, you’ll need a magnifying glass—perfect for revealing those tiny numbers hidden on camouflaged surfaces.
A number 2 pencil is essential too; I’ve designed caches where it activates hidden mechanisms in old barnwood constructions.
Don’t forget 4 AA batteries for powering flashlights that illuminate backward coordinates.
Several feet of string—well, that’s invaluable for measuring between stages.
And finally, a straight edge ruler helps GPS device users solve alignment puzzles with precision.
These features will transform your multi-stage Trackable into something special!
Camouflage Techniques for Coordinate Hiding
Have you ever noticed how the most memorable geocaches aren’t necessarily the hardest to find, but rather the ones that cleverly disguise their essential information? When I’m designing multi-stage adventures, I’ve found that coordinate camouflage creates that “aha!” moment geocachers love.
| Camouflage Technique | Materials Needed | Difficulty | Best For |
|---|---|---|---|
| Artificial Turf Blend | Turf patches, adhesive | Medium | Outdoor lab caches |
| Micro-Print on Images | Printer, photo paper | Hard | GPS devices still work with these |
| Magnifying Glass Required | Tiny font printing | Expert | Place to discuss creating challenges |
| Penny-Covered Coordinates | Tupperware, 15 pennies | Easy | Trackable inventory on cache logs |
I think the best geocaching-related designs use everyday objects in unexpected ways. It’s not just about hiding coordinates—it’s about transforming them into part of an immersive adventure.
Mechanical Elements That Surprise and Delight
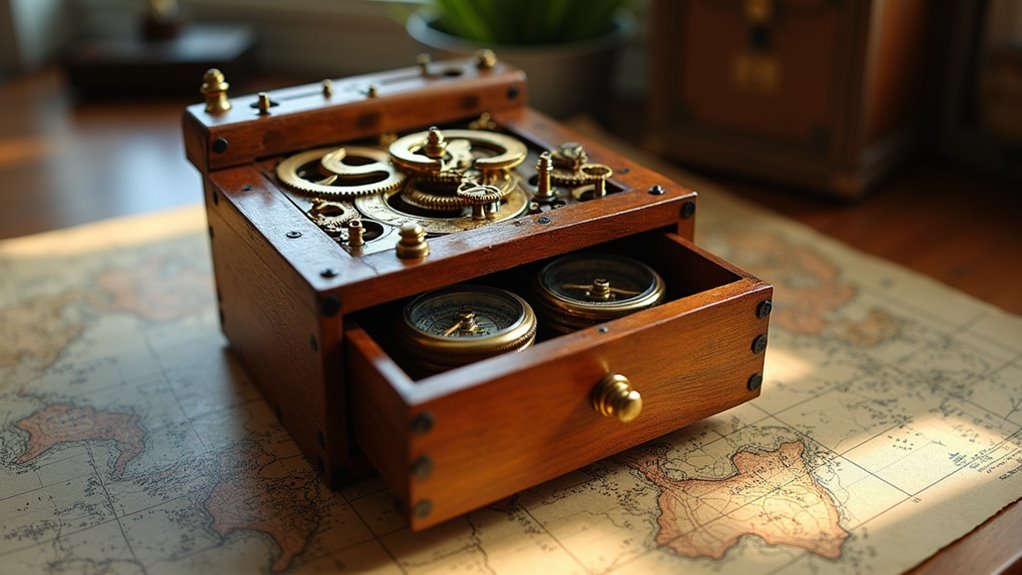
Why settle for ordinary geocaches when mechanical elements can transform a simple find into an unforgettable experience?
Elevate your cache game with mechanical elements that turn ordinary finds into extraordinary adventures.
I’ve found that the Adventure Lab platform offers perfect features for implementing mechanical surprises.
Consider inserting a #2 pencil into a birdhouse hole to activate a coordinate reveal—it’s like magic for cachers!
Or try hiding coordinates under pennies in a container—simple yet effective.
In my experience, the best mechanical elements follow Adventure Lab Guidelines while still being experimental.
I’ve seen flashlights used to illuminate hidden details under plexiglass, and mirrors needed to read backward coordinates etched on steel.
When discussing creating Adventures with others, these mechanical elements are what people remember most.
The Adventure Lab Builder Guide doesn’t explicitly cover these tricks, but they’re definitely related to creating memorable experiences.
Strategic Location Planning for Progressive Challenges
When I’m planning locations for multi-stage geocaches, I carefully consider how terrain difficulty should progress—maybe starting on flat ground before challenging cachers with steeper climbs or natural obstacles.
I’ve found that balancing puzzle sequences is essential; you want each stage to build logically from the previous one while teaching skills needed for future challenges.
The distance between stages deserves special attention too, since spacing them too far apart exhausts players while placing them too close together reduces the satisfying journey aspect of the hunt.
Terrain Progression Patterns
Geocaching’s most fascinating multi-stage experiences rely on thoughtful terrain progression patterns that keep players engaged from start to finish.
I’ve found that starting with accessible locations in your GPS-based Adventure Lab is essential before ramping up the challenge.
When I design a multi-cache with a 3.5 terrain rating, I’m careful to escalate environmental challenges gradually.
Think of it like building a story—your first stage might’ve players using official Geocaching apps on flat ground before they’re scaling that rock formation for the final cache.
In my experience, the most effective caches layer challenges naturally.
I’ll often place geocaching-related items like birdhouses at varying elevations, creating a progression that tests different skills.
Puzzle Sequence Balancing
How effectively you balance your puzzle sequence can make or break a multi-stage geocache experience. I’ve found that starting with simpler challenges, like the concealed coordinates on artificial turf in Sleepy Creek Wildlife Area’s GPS-based cache, builds confidence before tackling more experimental features. Each stage should build on skills developed in previous ones—much like Adventure Lab sequences do.
| Stage | Challenge | Tool Required | Skill Tested | Difficulty |
|---|---|---|---|---|
| 1 | Concealed coords | Magnifying glass | Observation | 2.0 |
| 2 | Birdhouse mechanism | #2 pencil | Fine motor | 3.0 |
| 3 | Hidden light puzzle | Flashlight | Problem-solving | 3.5 |
| 4 | Penny-covered numbers | Patience | Persistence | 4.0 |
| 5 | Etched backward text | Mirror | Adaptation | 4.5 |
When designing your cache, follow Guidelines in the Builder Guide thread—your puzzles should feel like a cohesive adventure rather than disconnected challenges.
Distance Planning Considerations
Distance planning might be the most underappreciated aspect of multi-stage geocache design.
I’ve found that strategic spacing between waypoints can transform a good cache into an unforgettable adventure.
When I created my 3.5-terrain multi-cache in Sleepy Creek, I deliberately increased distances between stages to match the 4.5 difficulty rating.
Your GPS units will guide cachers through a carefully mapped journey, but don’t just randomly place waypoints!
The Geocaching Help Center and Builder Guide recommend progressive challenges—start close, then gradually lead them further afield.
Maybe position a stage near that artificial turf area, then direct them toward the tallest rock formation.
In my experience, Adventure Lab and Experimental features work similarly to Project APE Cache designs—they require thoughtful distance planning to create that satisfying sense of exploration and accomplishment.
Terrain and Difficulty Balance Considerations
When balancing terrain and difficulty in multi-stage geocaches, you’re basically conducting a delicate dance between mental and physical challenges. I’ve found that a cache with a 4.5 difficulty rating paired with a 3.5 terrain rating creates an ideal experience for most geocachers using their GPS units.
| Stage | Mental Challenge | Physical Challenge | Balance Tips |
|---|---|---|---|
| 1 | Embedded coordinates | Moderate hike | Keep trackables visible |
| 2 | Puzzle gadgets | Natural features | Use Adventure Lab hints |
| 3 | Hidden mechanisms | Rock formations | Experimental features optional |
| 4 | Final solution | Culminating terrain | Make sure geocaching-related tasks are achievable |
In my experience, the best multi-caches make you think hard without exhausting you physically. I like incorporating tools like magnifying glasses that boost difficulty without requiring Olympic-level terrain navigation through official Geocaching apps.
Incorporating Educational Elements Into Your Cache
I’ve found that connecting your cache to local history or environmental science lessons can transform a simple hunt into a meaningful learning experience.
You don’t need to be an expert—even highlighting a unique rock formation or the significance of a historical landmark near your cache can spark curiosity.
When cachers leave your multi-stage challenge, they’ll haven’t only found a container but also picked up knowledge they’ll remember long after logging their find.
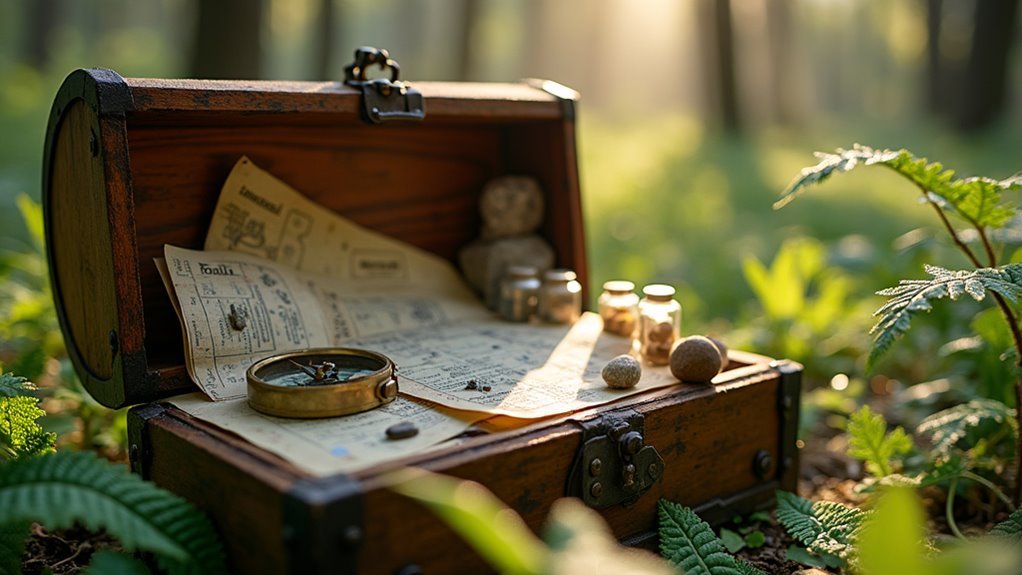
Local History Connections
Incorporating local history into your multi-stage geocache transforms a simple treasure hunt into a journey through time.
I’ve found that researching local history facts, like the establishment of Sleepy Creek’s 25,000-acre wildlife area, creates compelling stages that teach cachers about regional conservation efforts while they solve puzzles.
Try using historical elements in your cache designs—I once used old barnwood in a birdhouse stage, which prompted conversations about local architectural heritage.
You can also connect hints to nearby historical landmarks, like directing searchers to significant rock formations that have geological or cultural significance.
In my experience, interactive components work best.
Maybe use pennies to cover coordinates, symbolizing economic history, or design stages requiring magnifying glasses to uncover hidden dates.
These connections to local heritage make your cache memorable and meaningful.
Environmental Science Lessons
Environmental science naturally weaves itself into multi-stage geocaching, creating powerful learning opportunities without feeling like a classroom lesson.
In large areas like the 25,000-acre Sleepy Creek Wildlife Area, I’ve designed caches that teach about local ecosystems while boosting sales of GPS units.
When cachers use magnifying glasses to reveal coordinates on camouflaged surfaces, they’re practicing the same observation skills used in fieldwork—something we often discuss in our Center for Adventure Lab workshops.
I think incorporating recycled materials, like my birdhouse made from old barnwood, demonstrates sustainable practices while complying with Lab Guidelines and Adventure parameters.
Multi-stage puzzles using rulers and string mimic actual scientific tools, creating connections between Geocaching® apps for iPhone and real-world conservation work.
It’s these aspects of trackables that transform a simple hunt into an environmental lesson.
Weather-Proofing Multi-Stage Components
Weather challenges can quickly turn your carefully designed geocache into a soggy, unplayable mess.
I’ve learned through trial and error that materials matter when creating caches meant to withstand the elements.
For durability, I recommend using artificial turf to conceal coordinates – it’s far better than paper which disintegrates after one rainstorm!
When developing multi-stage components, consider embedding coordinates in weather-resistant materials like steel pieces rather than relying on paperless caching methods.
I’ve found Tupperware containers protect internal elements brilliantly, especially when housing trackables or items needed to accomplish some geocaching-related task.
Honestly, even the official Geocaching® apps can’t help if your physical cache falls apart!
For birdhouse-style caches, I secure plexiglass bottoms with screws – a technique I wish I’d known before my first cache disaster.
Building Progressive Complexity Throughout Stages
Now that your geocache components are built to withstand the elements, let’s talk about creating a journey that keeps players engaged from start to finish.
I’ve found that building progressive complexity is like crafting a good adventure novel—start simple, then ramp up the challenge.
Start with easy puzzles and gradually increase difficulty—just like any great adventure should unfold.
In my experimental designs, I start with basic observation tasks (like using a magnifying glass in Stage 1) before introducing more complex features in later stages.
My guide notes suggest incorporating tools strategically—mirrors, rulers, and string—with each new application building on previous skills.
Remember to gather feedback after release.
Some cachers loved my penny-hiding technique in Stage 3, while others found the mirror reading in Stage 4 particularly satisfying.
The best multi-stage caches don’t just get harder—they get more interesting!
Testing Your Multi-Cache for Durability and Solvability
The ultimate test of your multi-cache comes down to two critical factors: will it survive the elements, and can players actually solve it?
I’ve learned this the hard way—my first multi-cache with a mirror feature became unusable after just one rainstorm!
When testing your cache features, assess every stage thoroughly.
Take a thread from the player’s perspective—can they actually read those tiny camouflaged coordinates with a magnifying glass?
Will that pencil mechanism still work after a few months outdoors?
Durability guidelines are essential.
That birdhouse made of barnwood might look charming, but will it withstand Sleepy Creek’s wildlife area conditions?
For trackables and containers, I recommend exposure testing before publishing.
Oh, and don’t forget to gather feedback from trusted geocachers—they’ll catch what you missed.
Maintenance Planning for Long-Term Cache Sustainability
Testing your multi-cache for durability and solvability is only half the battle—maintaining it over time is where many cache owners fall short.
In my experience, sustainability begins with thoughtful material selection.
I’ve found that durable materials like plexiglass attached with multiple screws can withstand environmental wear in challenging locations like Sleepy Creek’s 25,000 acres.
For interactive elements, I always plan for regular battery replacement—those 4 AAs won’t last forever!
And don’t forget about periodic inspections.
Things like artificial turf or Tupperware containers degrade faster than you’d think.
I recommend creating a maintenance planning calendar that reminds you to check every component—especially consumables like pencils that activate mechanisms.
Trust me, there’s nothing worse than a geocacher traveling miles only to find your multi-stage cache has failed.
Frequently Asked Questions
How Do I Handle Geocachers Who Share Solutions Online?
I’d send up fireworks of Spoiler Alerts! Establish Community Rules and Online Etiquette guidelines. I enforce Privacy Strategies, Sharing Bans, and track User Detection while promoting Ethical Guidelines through Policy Enforcement.
What Permissions Do I Need From Landowners for Multi-Caches?
I’ll need explicit landowner permissions for each cache location, written access agreements, boundary approvals, and ownership verification. Legal requirements vary, so check if environmental permits, fee negotiations, or renewal processes apply to your area.
How Can I Create Accessibility Options for Disabled Geocachers?
I’m drowning in accessibility ideas! I incorporate Braille instructions, audio descriptions, wheelchair paths, tactile markers, visual cues, sensory adaptations, mobility options, and inclusive designs into my caches for all geocachers.
What’s the Ideal Distance Between Cache Stages?
I’d suggest 0.1-0.5 miles for ideal spacing, considering terrain impact and fatigue factors. Your route planning should balance proximity benefits with series length while maintaining safety measures throughout your distance guidelines.
How Do I Incorporate Storytelling Elements That Enhance the Adventure?
I’ll weave story integration throughout my cache by creating character backstories and mystery themes. I develop plots that unfold between stages, using narrative puzzles, historical context, and immersive storytelling in my adventure scripts.