Some of the links in this article may be affiliate links. If you make a purchase through these links, we may earn a small commission at no extra cost to you. Thank you.
I’ve been a geocacher for over a decade now, and trust me, there’s nothing more disappointing than finding your carefully placed cache has turned into a soggy mess. I’ve made pretty much every waterproofing mistake possible—from using those flimsy sandwich bags to leaving containers in direct rain paths. Over the years, I’ve developed some solid strategies that’ll keep your cache dry through storms, humidity, and even that unexpected sprinkler system. Want to know my secrets?
Thank you for reading this post, don't forget to subscribe!
Selecting Premium Waterproof Containers for Long-Term Durability
Why would you spend hours creating the perfect geocache, only to have it ruined by water damage a few weeks later? If that sounds like a problem, then the first thing you should do is check out my review of the best waterproof geocaching containers.
I’ve learned through trial and error that the container you choose makes all the difference in longevity.
Container choice is everything for cache longevity—a lesson I’ve painfully learned the hard way.
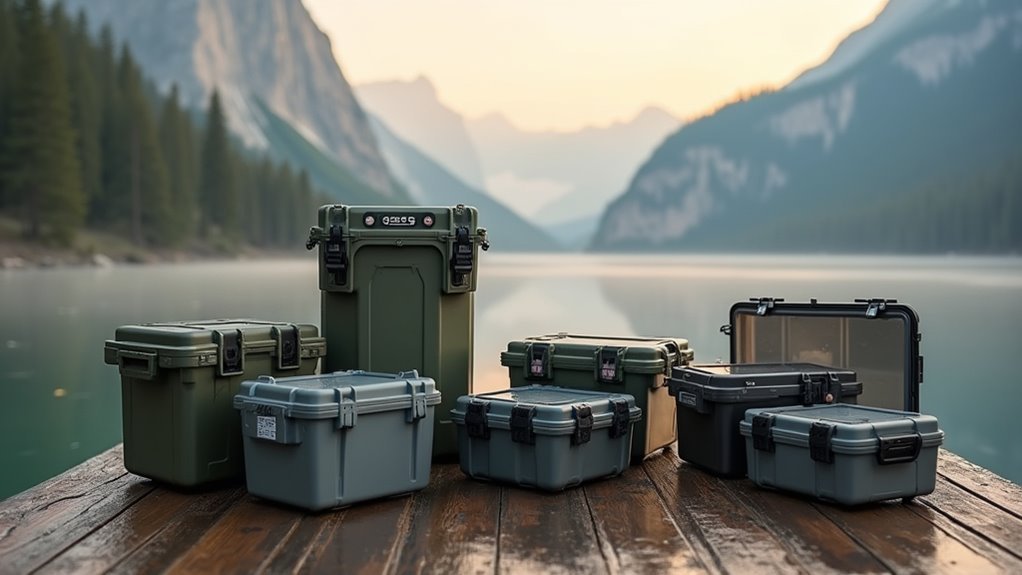
In my experience, ammunition boxes work best for most environments—they’re virtually indestructible and completely waterproof for about $10.
I actually prefer Lock & Lock containers for coastal areas since they won’t corrode in salt air like metal might.
Those four-side locking mechanisms create an amazing seal!
Rubbermaid containers with tabs on all sides are solid options too.
Whatever cache container you select, invest in quality.
I mean, why go through all that trouble hiding something special if it’ll be soggy and ruined next month?
Premium containers simply last longer.
The Critical Importance of Strategic Cache Placement
Even with the sturdiest waterproof container in the world, where you actually place your geocache might ultimately determine its survival.
I’ve learned through experience that strategic placement is just as vital as choosing the right container.
When I hide a cache, I always look for spots protected from direct rain and humidity – under rock overhangs, within dense foliage, or beneath natural shelters.
This approach works whether you’re using a smaller container or something big enough for multiple items.
Think of it this way – even premium containers like ammo cans need help!
By positioning your cache in protected areas, you’re effectively giving it a raincoat on top of its waterproof qualities.
I’ve found this simple strategy prevents moisture buildup and dramatically extends the life of my containers, keeping logbooks crisp even through seasonal changes.
Double-Container Methods for Maximum Protection
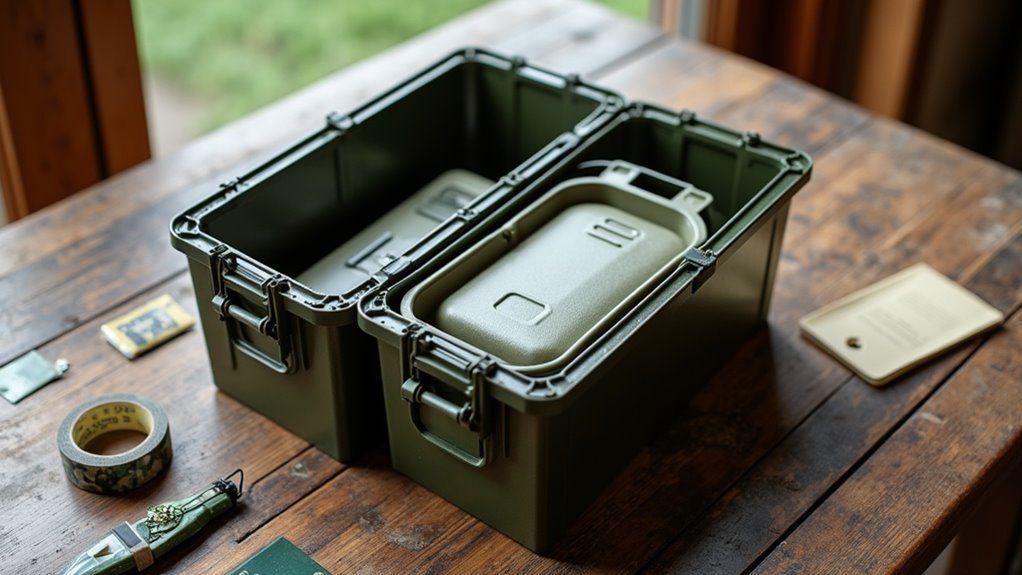
I’ve found that one of the best ways to keep your cache dry is by using the “container-within-container” approach with pill bottles of different sizes.
You can nest a smaller pill bottle inside a larger one, creating multiple barriers that’ll keep moisture from reaching your logbook or small items.
For the tightest seal possible, I always check that the containers fit snugly together and that all lids are screwed on completely—trust me, this extra effort pays off during those unexpected rainstorms!
Layering Pill Bottles
Layering pill bottles creates one of the most reliable waterproofing systems you’ll find in the geocaching world.
I’ve been using this method for years, and it’s remarkably effective.
The artistic layering approach involves nesting a smaller pill bottle inside a larger one, creating a double barrier against moisture.
When I’m repurposing these containers, I place the log in the inner bottle, then seal it inside the outer one.
What’s great is that even if rain penetrates the first layer, your log stays dry in that second container.
It’s basically like giving your cache contents a waterproof jacket and an umbrella!
This educational use of everyday items shows how simple solutions often work best.
You don’t need expensive containers—just two different-sized pill bottles that fit together snugly.
Container-Within-Container Techniques
Container-within-container design principles create a fortress-like defense system for your geocache contents.
I’ve found that nesting smaller waterproof containers inside larger ones provides redundant protection against moisture—essential when you’re placing caches in unpredictable environments.
This DIY innovation has saved many of my logbooks from becoming soggy messes!
Here are my favorite double-container methods:
- Pill bottle inside pill bottle – perfect for logs and tiny treasures, these create multiple moisture barriers
- Small waterproof case inside a floating Outus container – combines themed nestings with practical protection
- Screw-cap plastic bottles of different sizes – a temporary solution that’s surprisingly effective when you’re in a pinch
In my experience, the key is ensuring the inner container fits snugly inside the outer one, creating that airtight seal that keeps everything bone-dry.
Tight Seal Strategies
Beyond simple nesting containers, mastering the tight seal strategy can make or break your geocache’s survival in harsh weather.
I’ve found that doubling up pill bottles—placing a smaller one inside a larger—creates an incredibly effective waterproof barrier.
In my experience, the snuggest protection comes when you combine thread sealants with this nesting technique.
I’ll often apply a thin layer to the threads before screwing caps on, which, well, basically gives you insurance against moisture seepage.
Don’t overlook magnetic closures for easy access while maintaining protection.
I think they’re particularly effective when paired with gasket replacements in your outer container.
You know those old rubber gaskets that get brittle?
Swap them out regularly—probably the simplest upgrade that’ll keep your logbooks bone-dry year after year.
Beyond Plastic Bags: Reliable Moisture Barriers

While plastic bags might seem like a quick solution for protecting your geocache contents, they’re simply not reliable for long-term moisture protection.
I’ve conducted extensive barrier testing on various containers, and I’ve found several eco-friendly barriers that outperform plastic bags in nearly every testing protocol.
Eco-friendly barriers consistently outperform plastic bags in my rigorous container testing protocols.
Here are three reliable alternatives I recommend:
- Ammunition boxes from Army/Navy surplus stores ($10) – these feature sealed lids that withstand almost anything nature throws at them
- Lock & Lock containers with four-side locking tabs – they create an impressive moisture barrier that plastic bags can’t match
- Double-container systems – like placing a pill bottle inside a larger container for multiple layers of protection
In my experience, investing in quality containers now saves countless headaches later.
Trust me, you don’t want to discover your logbook has turned to mush after the first rainfall!
Weather-Resistant Logbooks and Writing Instruments
Now that you’ve got your cache properly housed, let’s talk about what goes inside.
I’ve found that Logbook Materials make all the difference when Mother Nature throws a tantrum.
Those all-weather logbooks from Shop Geocaching are absolute lifesavers—they’ll hold up in rain, sleet, even when you’re fumbling around in the dark!
When it comes to Pencil Performance, I’m a huge advocate.
In cold climates, pens are actually your enemy, not your friend.
The ink freezes up and then, well, you’re stuck with a useless stick.
Trust me, I’ve been there!
For Ink Alternatives, good old-fashioned pencils are probably your best bet.
They’re reliable regardless of temperature and won’t let you down when you’re battling the elements.
Mother Nature can be moody, but your writing instrument shouldn’t be!
Coastal and High-Humidity Environment Considerations
When it comes to coastal and high-humidity environments, you’re playing an entirely different geocaching game.
I’ve learned the hard way that plastic containers are absolutely essential near the ocean.
Salt air is basically acid for metal caches, corroding them faster than you’d believe!
Consider these critical factors:
- Tidal effects – Place caches well above high tide lines, as salt water will destroy even the best containers
- Fog hazards – Morning fog deposits moisture daily, so double-seal everything inside
- Wind durability – Use heavier containers that won’t blow away during coastal storms
I always recommend high-quality plastic containers for these locations.
They’re simply more reliable against the triple threat of salt spray, constant humidity, and harsh weather conditions that metal containers just can’t handle long-term.
Seasonal Maintenance to Prevent Water Damage
Why should you bother with seasonal maintenance for your geocache?
Well, I’ve learned the hard way that skipping this vital step can mean finding a soggy mess instead of a functional cache.
Seasonal Planning is absolutely essential.
I always check my containers after heavy spring rains when water damage risk is highest.
In winter, I’m especially vigilant about freeze-thaw cycles that can crack even the sturdiest containers.
For Inspection Timing, I recommend scheduling checks before wet seasons begin.
Verify those locking mechanisms on your Rubbermaid or Lock & Lock containers—they’re your first defense against moisture.
The right Maintenance Frequency depends on your location.
If you’ve placed a cache in a coastal area, you’ll need more frequent checks due to salt corrosion.
Trust me, bi-annual inspections are the minimum for any cache!
Size and Material Choices for Different Geocaching Terrains
I’ve found that matching your container to the terrain isn’t just about waterproofing—it’s about creating a cache that’ll survive whatever Mother Nature throws at it.
You’ll need to weigh durability against weight, especially when hiking to remote locations where that heavy ammo can might feel like a brick in your backpack after a mile or two.
When considering visibility, I prefer natural-colored containers in woodland settings, while urban caches might benefit from something that blends with architectural elements.
Container-Terrain Match Matters
Choosing the right container for your geocache isn’t just about waterproofing—it’s about matching your container to the specific challenges of your terrain.
I’ve learned this lesson the hard way after finding my metal containers rusted through in coastal areas!
For successful geocaching across different environments, consider these terrain-specific options:
- Savannah container fits – In exposed areas like prairies or savannahs, go with .50 caliber ammo boxes that can handle intense sun while providing Prairie blending methods through their durable design.
- Polar region selections – For sub-zero environments, I recommend watertight plastic containers that won’t crack—definitely not glass or brittle materials.
- Forested hideaways – In protected woodland spots, smaller Tupperware works well because, honestly, you don’t need military-grade protection where nature provides cover.
Durability vs. Weight Tradeoffs
When selecting the perfect geocache container, how do you balance durability against the physical effort of transporting it? I’ve found that this tradeoff varies dramatically based on terrain. For mountain caches, I’ll sacrifice weight for durability metrics, using metal ammo cans despite their 2-5 pound heft.
| Container Type | Weight | Best Terrain |
|---|---|---|
| Ammo Can | 2-5 lbs | Mountains, Extreme Cold |
| Lock & Lock | <1 lb | Forests, Hills |
| Outus Case | <0.5 lb | Urban, Trails |
In coastal areas, I’ve learned the hard way that lightweight plastic is worth the tradeoff example—my metal cans rusted within months! But in freezing conditions, those same plastic containers cracked. I think the weight considerations really boil down to how far you’ll need to hike with your cache.
Visibility Considerations Outdoors
Where you place your geocache ultimately determines how visible it’ll be to both fellow geocachers and unwitting passersby.
I’ve found that choosing the right container for your terrain is essential for Tourist Evasion.
In my experience, forested areas benefit from camouflaged containers, while coastal locations demand plastic over metal to prevent telling rust.
Consider these terrain-specific strategies:
- Urban Settings – Use compact containers like the Outus case in tight spaces, and plan Event Timing during less crowded hours
- Open Fields – Place larger containers in protected spots, not out in the open where they’ll stick out
- Mountainous Regions – Opt for watertight plastic that won’t crack or fade, and send Community Alerts about challenging terrain
Frequently Asked Questions
What Is the Best Way to Waterproof a Shipping Container?
I’d recommend applying marine-grade sealing coating to your shipping container’s barrier joints. Regular inspection of these sealing techniques guarantees durability. Multiple waterproofing methods and material options provide long-lasting protection against moisture.
What to Put in a Geocache Container?
I’d fill my geocache container with a waterproof logbook for signatures, a pencil, and themed swag options. Imagine opening it to find tiny treasures—trinkets that tell stories through carefully curated item themes and cache contents.
What Not to Put in a Geocache?
I’d never include hazardous items, perishable goods, or illegal objects in my geocache. Also avoid food, medications, weapons, disposable containers, silica packets, and metal containers in coastal areas.
How to Properly Maintain a Geocache?
I’m on the ball with my geocache maintenance through regular inspection routines. I check waterproofing, clean containers, and verify coordinates. Location scouting helps me assess environmental risks, informing necessary archival decisions.